 English
 Español
 русский
 عربى
عربى 中文简体
中文简体
Content
- 1 Core Design Principles of a Custom Retail Checkout Counter
- 2 Standard, Semi-Custom and Fully Custom Checkout Counters Compared
- 3 Hidden Performance Metrics Behind a Fast Checkout Counter
- 4 Where Custom Checkout Counters Are Used: Industry Distribution
- 5 How to Choose a Custom Checkout Counter: A Six-Step Selection Guide
- 6 Custom Checkout Counter Cost and ROI
- 7 Maintenance and Compliance Recommendations
- 8 Custom Checkout Counter FAQ: Eight Questions Buyers Ask Most
- 9 Summary: Specify the Custom Checkout Counter Around Your Customers
Custom Checkout Counter: How to Specify, Budget and Deploy One That Pays Back
A custom checkout counter is the one fixture in a store that every customer touches and every sale passes through. That means a few inches of belt length, or a card terminal mounted at the wrong angle, becomes a daily cost multiplied across thousands of baskets. Buyers who treat the counter as a catalog item usually find this out after installation, when the same queue forms at the same spot every Saturday afternoon.
This guide is written for procurement managers, store planners and chain operators who are about to specify, quote or approve a made-to-order counter. It covers the design logic, the choice between standard and customized units, the performance metrics that rarely appear in a quotation, deployment patterns by industry, a worked ROI model, maintenance and compliance, and eight practical questions buyers ask most often.
Note: figures, ranges and percentages in this article are indicative planning values based on typical retail projects. Replace them with your own store data before making investment decisions.
Core Design Principles of a Custom Retail Checkout Counter
Every counter has to solve the same physical problem: move a customer's items from basket to bag, and money from customer to till, in as few seconds as possible without making the cashier's body pay for it. A custom retail checkout counter solves that problem for one specific store rather than for an average one. The six principles below are what a good design brief should address.
Supermarket checkout counter design versus a convenience store layout
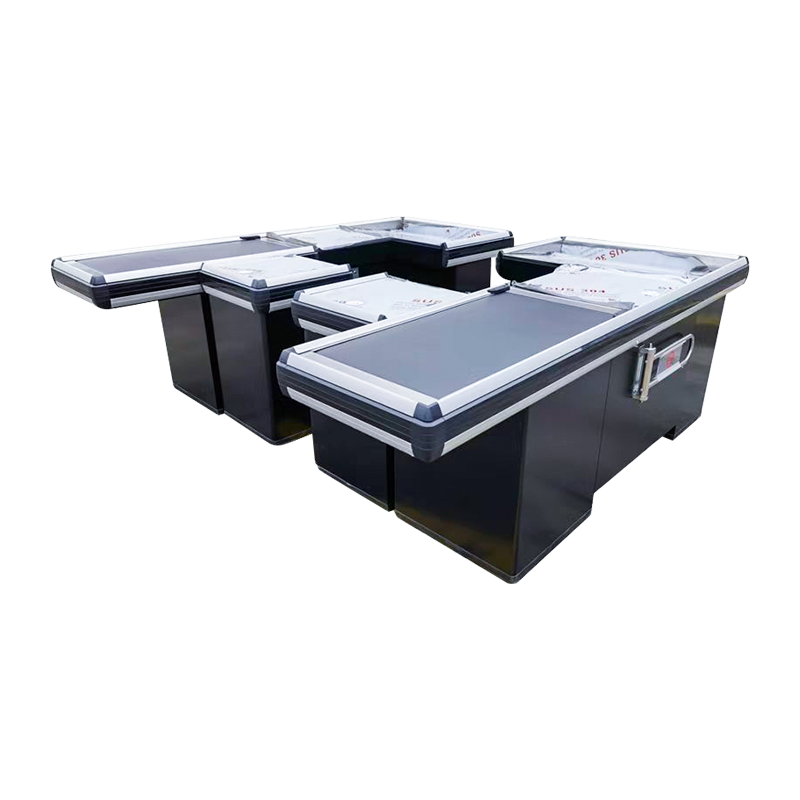
A supermarket checkout counter design is driven by volume. Baskets are large, peak queues are long, and a few seconds saved per item compounds quickly. That pushes the specification toward longer belts, full-size bagging platforms, dividers, and sometimes a second cashier-side shelf for items that need weighing or age checks.
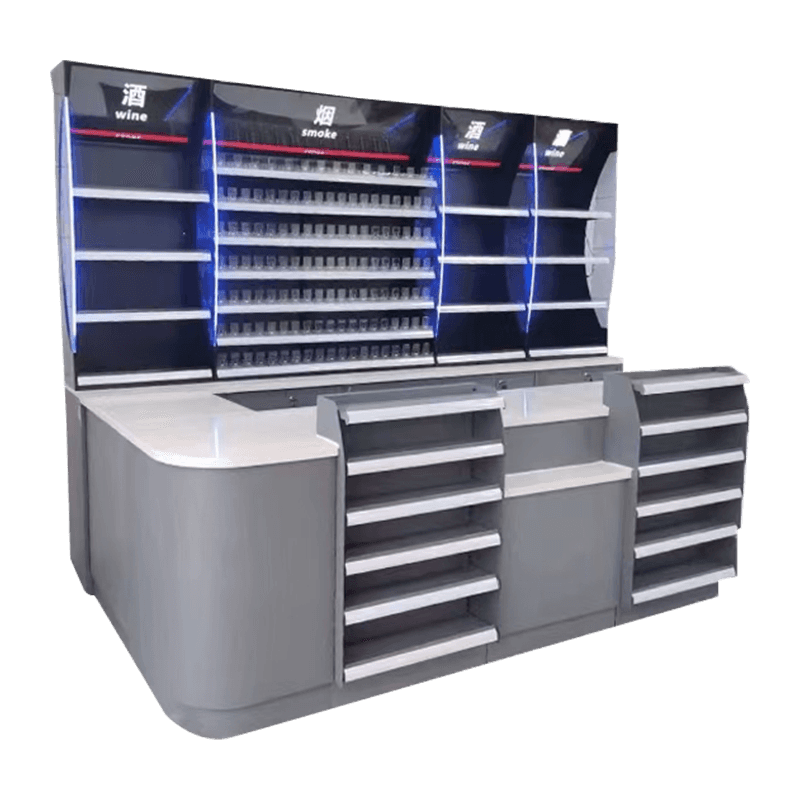
A convenience store has the opposite problem. Floor space is scarce, baskets are small, and the counter often doubles as a display surface for impulse items, tobacco, lottery or hot food. Here a compact counter with a short belt or no belt, strong merchandising shelves and a tight payment zone usually outperforms a miniature version of a supermarket lane.
Standard, Semi-Custom and Fully Custom Checkout Counters Compared
Buyers often assume the choice is binary: a catalog unit or a bespoke one. In practice there is a middle tier, and it is where most chain projects land. Semi-custom counters start from a proven modular platform, then adjust length, layout, finishes, branding and payment mounting to the store.
Indicative comparison of three procurement routes for retail checkout counters.
The pattern in the table is consistent. Standard units win on speed, fully custom units win on fit, and semi-custom units win on the balance between the two. For a chain rolling out across ten or more stores, the semi-custom route also brings an operational benefit: identical modules and spare parts across sites, which shortens repair times and simplifies staff training.
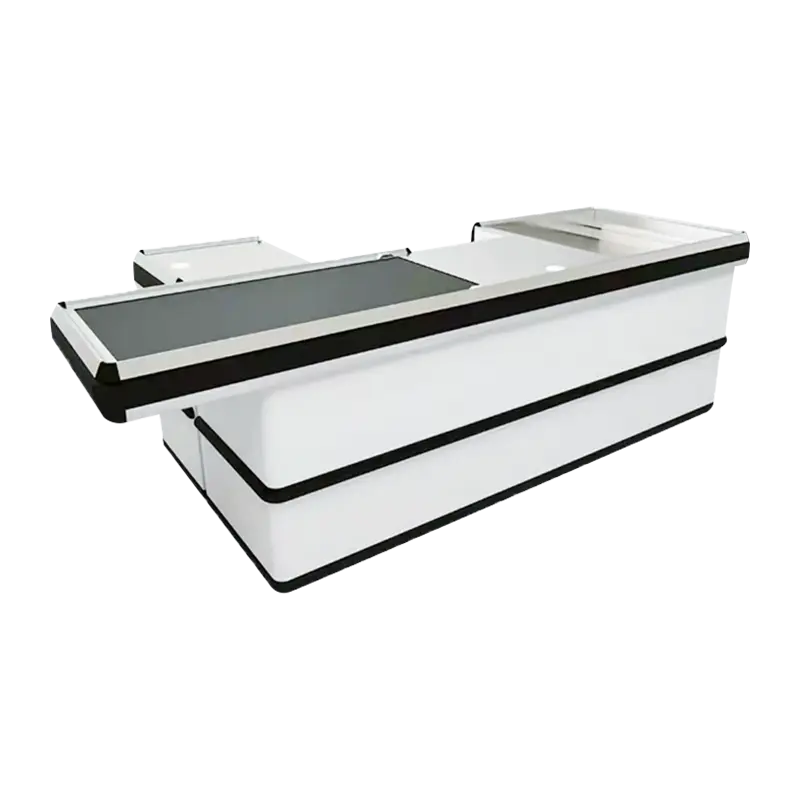
A useful reference point is a belt model that already combines a conveyor with a multi-payment station, such as the SYT05 IntelliPay multi-payment belt checkout counter. Looking at how a platform like this arranges the belt, scanner area and payment mounting gives your design team a concrete baseline to adjust, rather than starting from a blank page.
Hidden Performance Metrics Behind a Fast Checkout Counter
Quotations list dimensions, materials and price. They rarely list the variables that decide how quickly a lane actually moves. When planners compare transaction times before and after a redesign, the gains tend to cluster in a handful of design decisions, shown below.
The payment zone leads the list because payment is the only step where the customer, not the cashier, controls the pace. A terminal that swivels toward the customer, sits at tap-friendly height and is cleanly separated from the scanning area removes the fumbling that adds seconds to every card or mobile payment. As the payment mix shifts toward contactless and QR methods, this gap widens rather than narrows.
Belt sizing comes second. A belt that is too short forces customers to hold items back, while one that is too long wastes floor space and invites customers to load more than the cashier can process. Dividers solve this by letting the next customer unload early, which keeps the scanner busy and the lane moving.
The smallest bar, cable management, is not trivial. Loose cables get pulled, terminals move out of position and technicians waste lane time hunting for faults. The effect on speed is small, but the effect on downtime is not.
Four questions to put in every request for quotation
- What is the rated belt load, and what motor and belt type are used? Heavy baskets of bottled drinks expose weak drive systems quickly.
- How noisy is the belt in operation? Noise affects cashier fatigue and the customer's impression of the store.
- How long does it take to replace a belt, motor or terminal bracket? Service access time directly determines lane downtime.
- How does the work surface resist abrasion, impact and cleaning chemicals? Ask for the material specification, not just the color code.
Where Custom Checkout Counters Are Used: Industry Distribution
Demand for tailored counters is not spread evenly across retail. The chart below shows a typical distribution of made-to-order checkout counter projects by sector, based on common export and chain-retail enquiry patterns.
Supermarkets and grocery account for the largest share because they run the most lanes per store and feel queue pressure most acutely. Their custom requirements center on belt length, weighing and bagging space, and repeatable modules across dozens of sites.
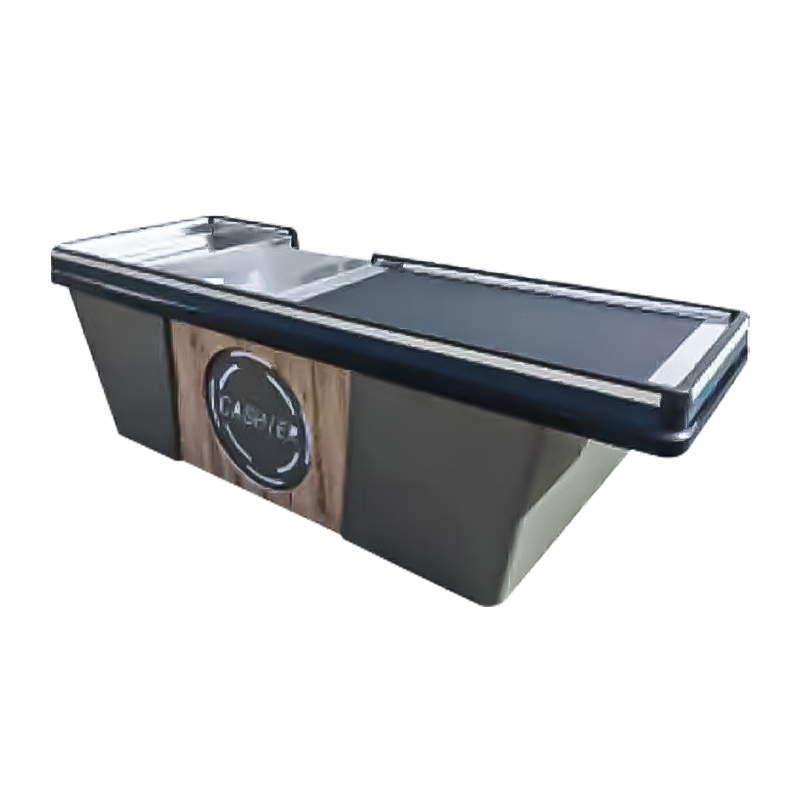
Convenience and chain stores specify for brand consistency and merchandising. The counter is part of the shop identity, so finish, lighting, shelf layout and impulse displays matter as much as throughput.
Hypermarkets and department stores tend to mix lane types, from long belted lanes to compact express positions, which is where modular systems earn their keep. Pharmacy and specialty retail projects often prioritize privacy, secure storage and hygiene-friendly surfaces. The remaining segment, which includes canteens, hotels and leisure venues, usually favors compact counters with strong payment integration over long belts.
How to Choose a Custom Checkout Counter: A Six-Step Selection Guide
A disciplined brief shortens the quoting cycle and avoids the redesigns that inflate cost. The six steps below follow the order in which a supplier's engineers will need your answers.
Custom Checkout Counter Cost and ROI
The price of a custom checkout counter is driven by five variables: the length and complexity of the belt system, the materials used, the amount of integrated electrical and payment hardware, the finish and branding requirements, and freight. Quantity matters too, because tooling and engineering time are spread across the order.
The return side is easier to model than most buyers expect. The worked example below uses deliberately conservative assumptions, so you can swap in your own numbers.
Two cautions apply. First, a counter cannot fix a store with too few cashiers or an unreliable payment network, so check those basics before attributing results to the fixture. Second, the savings from a cheaper counter are usually smaller than the losses from one that slows a single busy lane, so judge price against performance, not against the lowest quote.
Maintenance and Compliance Recommendations
A well-built counter should run for years, but only if the routine care is written down and assigned to someone. The schedule below suits most belted counters in busy retail environments.
Routine maintenance schedule
- Daily: wipe the work surface and belt with a cleaner approved for the material, and check that the emergency stop and belt start sensor respond correctly.
- Weekly: inspect belt tracking and tension, clear debris from under the belt, and check that terminal brackets and cable covers are secure.
- Monthly: check rollers and drive components, inspect edge trims and laminate corners for chips, and test the scanner window and weighing surface if fitted.
- Quarterly: have a technician inspect wiring, plugs and power supplies, and review the lane log for repeated minor faults.
- Annually: assess belt wear and replace before it fails, and recheck levelling and anchoring.
Compliance points to confirm before ordering
Electrical safety. Motors, power supplies and sockets should carry the marking required in your market, such as CE for the European Union or a recognized listing such as UL or ETL for North America. Ask the supplier for the relevant declarations or test reports for the components, not only the finished counter.
Accessibility. Many jurisdictions require at least one lane that wheelchair users and customers with limited reach can use comfortably. Requirements typically specify minimum aisle width and a maximum counter height for accessible lanes, so check the current local code and design that lane deliberately instead of adapting it afterwards.
Hygiene and fire performance. Counters in contact with unwrapped food, or in healthcare-adjacent retail, need surfaces that tolerate frequent disinfection. Confirm any fire-rating or flame-spread requirements for laminates and trims with the shop-fitting contractor and the local authority.
Shipping and documentation. For overseas projects, agree packing method, customs descriptions and installation instructions early. Knock-down modular designs ship more efficiently and reduce transit damage.
Custom Checkout Counter FAQ: Eight Questions Buyers Ask Most
+How long does it take to produce a custom checkout counter?
+What is the minimum order quantity?
+Which material works best for a high-traffic supermarket lane?
+Can a custom counter integrate card terminals, QR payment and a cash drawer?
+How do I decide between a belted and a non-belted counter?
+Can existing counters be extended or modified instead of replaced?
+What should I prepare before requesting a quotation?
+How are custom counters shipped and installed overseas?
Summary: Specify the Custom Checkout Counter Around Your Customers
The most reliable way to get value from a custom checkout counter is to work backwards from the numbers: basket size, peak-hour volume, payment mix and the floor space you actually have. From there, the main choices become straightforward. Match the belt to the basket, integrate the payment zone, give bagging its own space, protect the surfaces that take the abuse, and keep every wearing part easy to reach.
For most chains, a semi-custom approach on a proven modular platform balances fit, cost and lead time better than either extreme. With realistic assumptions, the investment can return within the first year, and the same specification can be repeated across further stores with little extra design effort.
Suzhou Juren Commercial Equipment Co., Ltd. supports retail buyers with checkout counters configured to their layout, payment hardware and brand requirements. To see how a belt counter with integrated payment stations is laid out, review the SYT05 IntelliPay multi-payment belt checkout counter, then send your floor plan and basket data so the design team can propose a configuration for your stores.